
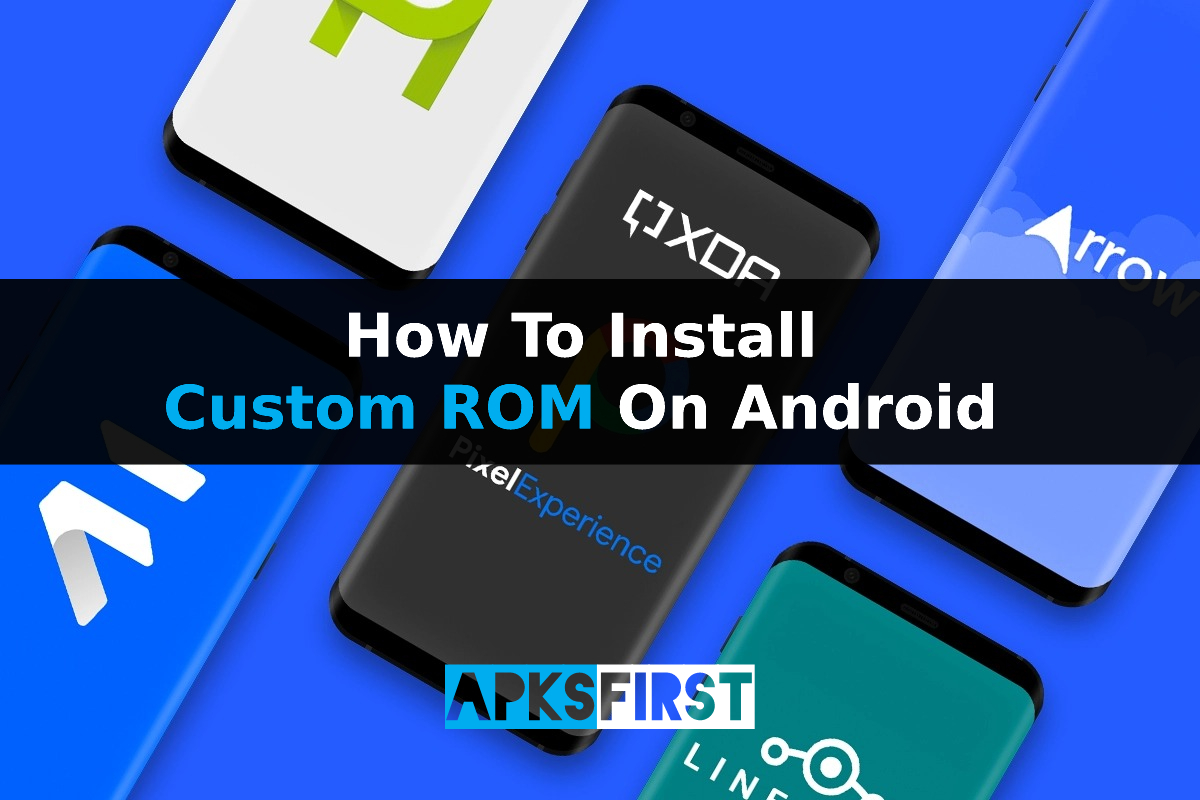
Many smartphone users want to install custom ROM on Android phones they have. Every smartphone comes with a standard operating system or UI already installed. It could be AOSP-based, with little or no added features, commonly called Stock Android, or it may be a custom-designed skin of a specific brand. Samsung handsets, for instance, have a customized UX built on Android named OneUI. OnePlus uses OxygenOS, Oppo uses ColorOS, Xiaomi phones use MIUI, etc. Each UI looks different and offers various options.
While some users may prefer a particular UI and skins, others may not. Some users prefer a robust interface to set up themes and change system elements. In contrast, others prefer a simple, clean user experience that is not overly complicated.
Why should you install a custom ROM?
The capability to create custom ROMs is among the most significant advantages of Android. A custom ROM is an entirely new version that is part of Android. Android operating system. A ROM can bring considerable benefits to installation — or”flash” as they’re called.
If your device does not receive software updates from the company, installing a ROM to update to the most current Android version is possible.
- If your phone has highly customized software, it is possible to install a ROM that will give you a more “stock” Android experience.
- If you are a fan of features of devices made by other manufacturers, you may discover ROMs that can be ported onto your device.
- If your smartphone does not work or displays low battery performance, you can search for ROMs optimized for performance or energy consumption.
- It is also possible to get de-Googled versions of ROMs that place more importance on safeguarding your privacy.
Also Check: How to Root Android Phone?
How To Install Custom ROM on Android?
Once you’ve got everything set to install the custom ROM, you can start the process.
Step 1: Backup your data

This is the first important thing to take care of before you begin the installation you must create an archive for all the data you’ve stored. This is a thorough guide that will ensure that you back up all of your phone’s information, so be sure to do it so that it’s simple to recover your data when you install new firmware.
Step 2: Downloading the correct ROM

As we’ve said earlier, the best method is to go on the XDA Forums on your particular device and search for a ROM that best fits your needs. Custom ROMs are based on the device; therefore, you should download a ROM designed especially for you.
Different versions for the same model are also based on region, carrier, etc. So keep this in mind. Choose the correct custom ROM for your specific device. If you’re unsure about asking about compatibility, you can do so on the Forums of XDA.
After identifying the ROM you wish to install, you can download the zip file on your computer or phone. It is important to note that you’ll have to wipe your phone’s data during the subsequent procedures, so it’s recommended to complete the file transfer later following the data wipe; however, ensure that your phone is connected to your laptop and accept files, to ensure that the device driver is working. In the future, you’ll be required to copy the ROM files into the root directory of the device’s storage. Do not remove the ZIP file.
Step 3. Downloading GApps as well as Google Apps

Custom ROMs are incompatible with Google’s services and apps already installed (except a handful). Suppose you wish to log in with the credentials of your Google account and access Google’s services such as Sync, Play Store, Gmail, Drive, etc.
To do this, you’ll have to install the separate GApps package. There are a variety of versions of GApps that you can download. We recommend you read our guide on choosing the best Gapps package for your needs and selecting the suitable one. It’s also available and provided as an archive file.
Download it and save it to the smartphone’s storage. You could also install them directly on your Mac or PC Using the ADB sideload method.
Notice: Certain custom ROMs, such as Pixel Experience, come with installed GApps. In these instances, you don’t need to install the GApps file on your own.
Step 4. Booting into TWRP
After you’ve transferred your ROM as well as GApps files into the internal memory of your phone, now is the time to start TWRP to install the files. If you’re not used to the process of booting into Recovery mode, we’ve got instructions on how to enter recovery mode on your phone so that you can follow the steps to start up TWRP. After you’re in TWRP, there are a few steps you’ll need to take care of before installing the ROM that we’ll discuss in the following step.
Step 5. Installing your Custom ROM
After you’ve entered TWRP, It’s a good idea to create an android backup of the entire system before proceeding. This is useful should you encounter an unsuccessful installation. You’ll be able to boot into TWRP and then restore the backup to the state that was previously on your device.
To do that:
- Choose the Backup option from TWRP, and then select Boot System Image Data, Modem, and EFS.
- Swipe to save.
- Wait until it’s finished.
This process will wipe your phone completely. Return to the main menu of TWRP and choose Wipe. After that, Swipe to Factory Reset. Choose Option to Format Data. Select the Format Data option, type in “yes,” and click the tick to reformat your mobile. Noting that formatting the /data partition requires a reboot so that TWRP can recognize your newly-created file system.
Additionally, because your internal memory on the device gets deleted when formatting, you need to transfer the ROM and GApps files to the phone’s storage.
- It is possible to do this via TWRP within the application itself. Navigate towards the Mount section, and then select an Enable MTP option.
- Then, connect your phone and computer, which should be recognized as a storage device. Transfer the gapps and ROM files.
- Afterward, go to your main menu in TWRP and click Install. Please navigate to the folder in which your ROM was saved and the GApps files. Select the ROM, then swipe to install it.
- Go back to the previously used menu and choose to install the GApps file. Also, install it once the installation has been completed, then select Reboot to the system.
If your system isn’t booting after this sequence, you may have to flash/install the ROM. Restart into recovery, after which you flash your GApps file. A second reboot is required in certain situations.
Now you have a custom Android ROM running on your cell phone! It will help if you wait for your phone to boot. The initial booting procedure could take some time, so don’t worry; the phone will start the set-up procedure.
Also Check: Best Action Games For Android
This is how you can set up a custom Android ROM for your phone. It’s pretty easy, and with just a little patience and time, you can have an updated ROM on your device with enhanced options, features, customization, themes, and more. If you’ve installed the custom ROM but do not like it or have problems, you can install a fresh ROM and repeat the installation process.
Conclusion
A ROM is an altered variant of Android. It is created to work better than the Android that smartphone makers use. It is more feature-rich and can be vastly customized. You can alter the appearance, improve the battery’s power, and enhance the overall performance. Many ROMs are available on the internet. XDA Developers Forum is a great place to start should you want to learn more. So, I hope through this tutorial, you are now able to install custom ROM on an Android phone.


1 Review